


How to adjust a hinged exterior door?
Back to guideHow to adjust a hinged exterior door?
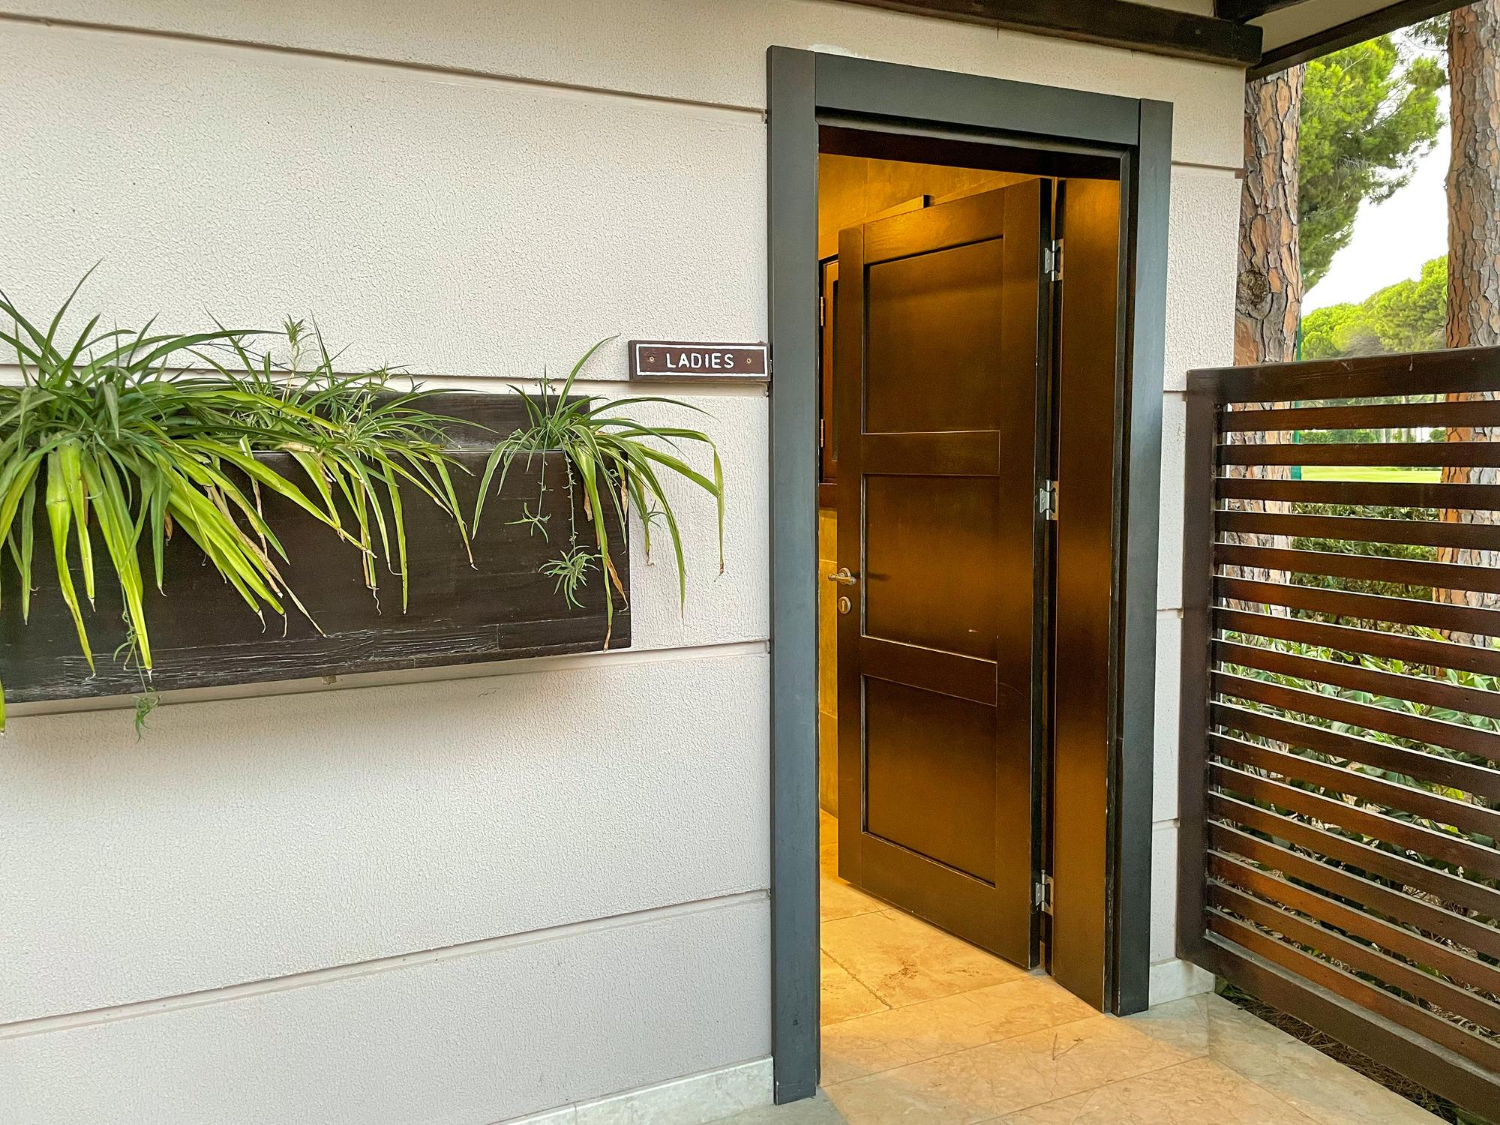
Over time, as a result of daily use, your front door may begin to droop, fail to close properly or even start rubbing against the frame. If you notice such suspicious symptoms of deteriorating performance, it means it’s high time to think about adjusting the leaf relative to the frame. Doors that are not properly adjusted can lock against the frame or sill, resulting in faster wear and tear.
When you find that the door starts to close harder, moves with resistance or there is airing, then try to locate the source of the problem first. Most steel exterior doors are mounted on adjustable hinges, which allow you to change the settings in two or three planes – depending on the model. How to adjust a door on hinges? You can do it all yourself, as long as you have the basic tools and knowledge of how to go about it. Here’s our quick guide: exterior doors – adjusting hinges in a few easy steps.
Why is it important to adjust exterior doors?
Door adjustment requires precision and patience, so it is not a task for everyone. Even small adjustments can significantly affect their performance, so you need to proceed carefully and gradually and test the effects of the adjustment after each change. Precise adjustment relative to the door frame has an impact on ensuring thermal comfort, energy efficiency and the durability of the door.
The front door is a barrier that helps maintain the right temperature in the house and cuts off householders from noises coming from outside. Proper adjustment ensures that the door fits snugly against the door frame, eliminating vents and thermal bridges. A well-adjusted exterior door reduces the penetration of outside noise into the house. This is especially important for homes located in high-traffic areas or near noisy sound sources. How to adjust a hinged exterior door? Start by checking their leveling.
Checking the level of the door and frame
To check the level of the door and frame, you need a short level (60-80cm) and a long level, preferably 150-200 cm, to make the measurement as precise as possible. You may also find it useful to use a tape measure to determine the size of gaps. First, place the long level vertically on the side of the frame (jamb) and check that the bubble in the vial is exactly in the center. Then add a short level to the top edge of the frame (lintel) and also check the position of the indicator. Finally, check the threshold – if it is sagging, it can cause problems with the door closing freely.
When you are sure that the frame is seated correctly after the measurements, it is time to check the leveling of the door. Following the same procedure as for the frame, examine their alignment in all three planes – horizontal, vertical and lateral (from the edge with the lock). If they are unlevel, and the frame is aligned perfectly, then the problem lies in the hinges, which have corresponding adjustment screws. How to adjust the hinges on external doors? Start with vertical adjustment.
Vertical hinge adjustment
For 3D hinges, the adjustment of the door leaf is carried out by raising or lowering it and by moving it relative to the door frame. The screw responsible for vertical adjustment is located at the bottom of the door hinge. To adjust it, you will need an ordinary 5 mm Allen wrench. When adjusting the setting, turn the screw clockwise to raise the door leaf or counterclockwise to gently lower it. Remember to do this steadily and without haste. If the door is significantly crooked, it may be necessary to adjust all the hinges one at a time. In this case, adjust each hinge evenly to avoid putting too much pressure on any one point.
Horizontal hinge adjustment
Horizontal hinge adjustment is necessary when the door is not perfectly aligned with the door frame in width. Rubbing of the sash against the frame or improper adhesion of the door to the seals indicate the need for alignment adjustments. This is done similarly to raising or lowering the sash and also requires meticulousness. How to adjust a horizontally hinged front door? For 3D hinges, first locate the adjustment screw, located on the side of the door hinge, closer to the top. It can be freely accessed from the frame side. By slowly turning the screw, you will feel the door move left or right, adjusting its position relative to the frame. Remember that each turn of the adjustment screw introduces small changes, so do it gradually, testing the position of the door after each adjustment – close and open it, thus checking the effects of your actions.
How to adjust the pressure of the door against the frame?
What remains is the pressure adjustment (front-to-back), which affects how well the door adheres to the seals. This is important for both thermal and acoustic insulation. The door should close smoothly, and the seals must fit tightly against the frame and not cause difficulty in closing. If the door is difficult to close or seems to literally “stick” into the door frame, it may mean that the pressure is too strong and should be loosened a bit. If the door does not adhere evenly to the seals, causing airing, or seems “loose,” the pressure should be increased. In 3D hinges, the pressure of the door against the frame is set by a screw screwed into the frame at the front of the hinge. By turning it clockwise, you will increase the pressure of the door to the frame, which will cause the door to adhere more firmly to the seals. Turning it to the left will decrease it if the door is too tight and difficult to close. And again – after making the adjustment, open and close the door several times to check that it operates smoothly and that it adheres properly to the seals along all edges. A properly adjusted door will remain stationary in the open position, with no tendency to self-close or open ajar.
See also

EPD – the certificate of the future in the industry
At Stalprodukt-Zamość Sp. z o.o., we believe that responsibility for a product does not end with its functionality,…Read more
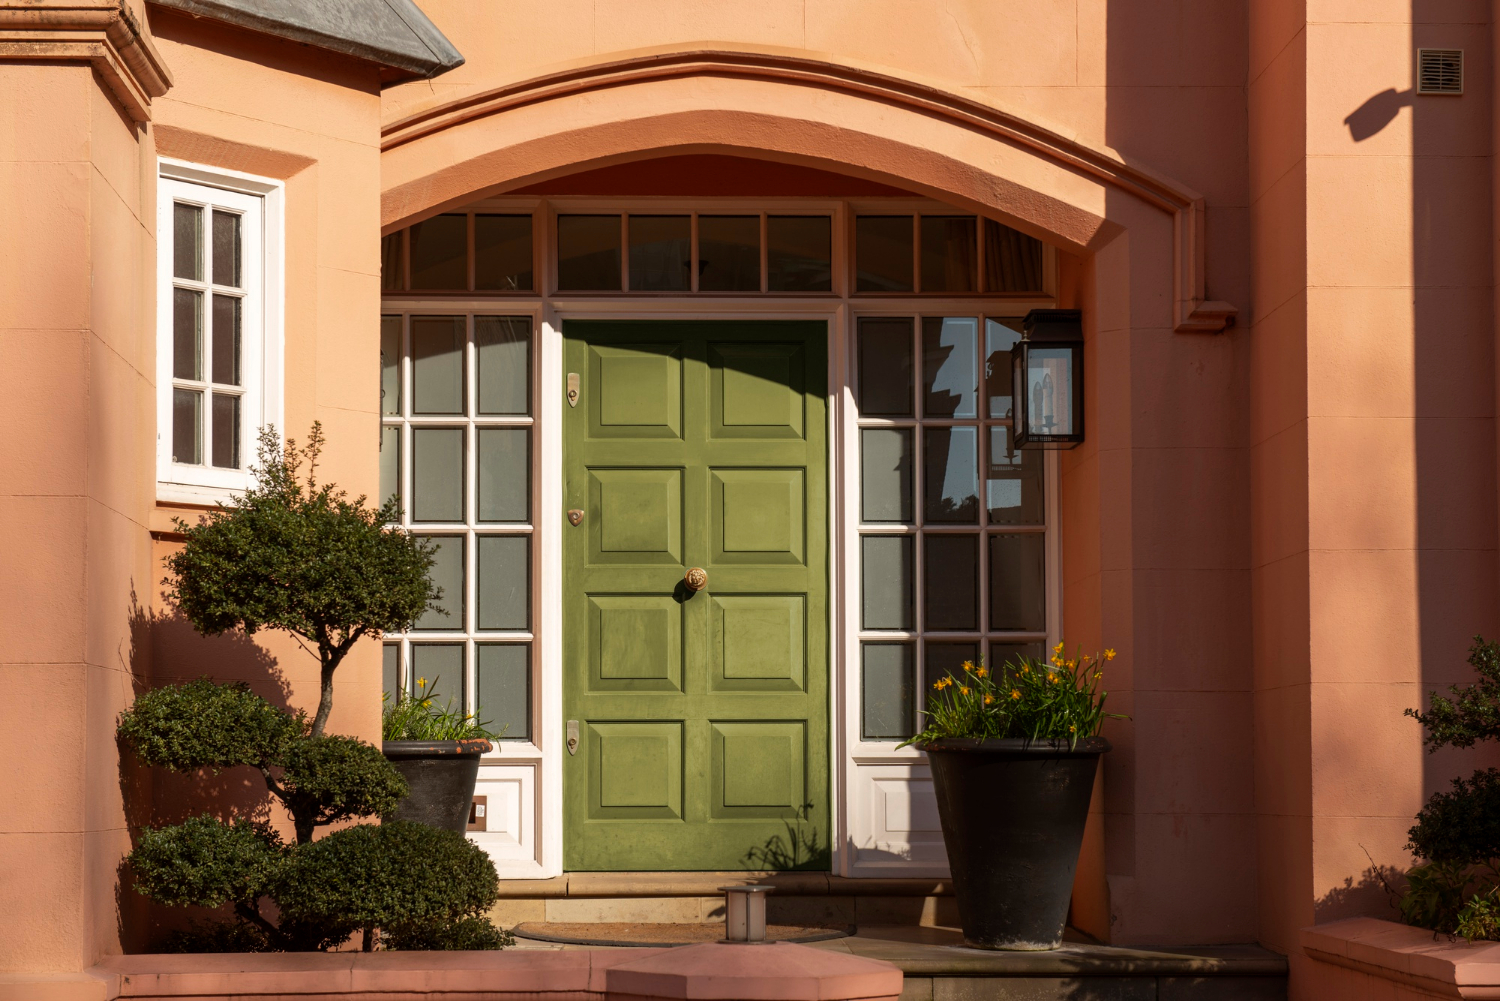
What color exterior door to choose for your home? Practical tips
What color exterior door to choose for your home? Practical tips Choosing an exterior door is a decision…Read more
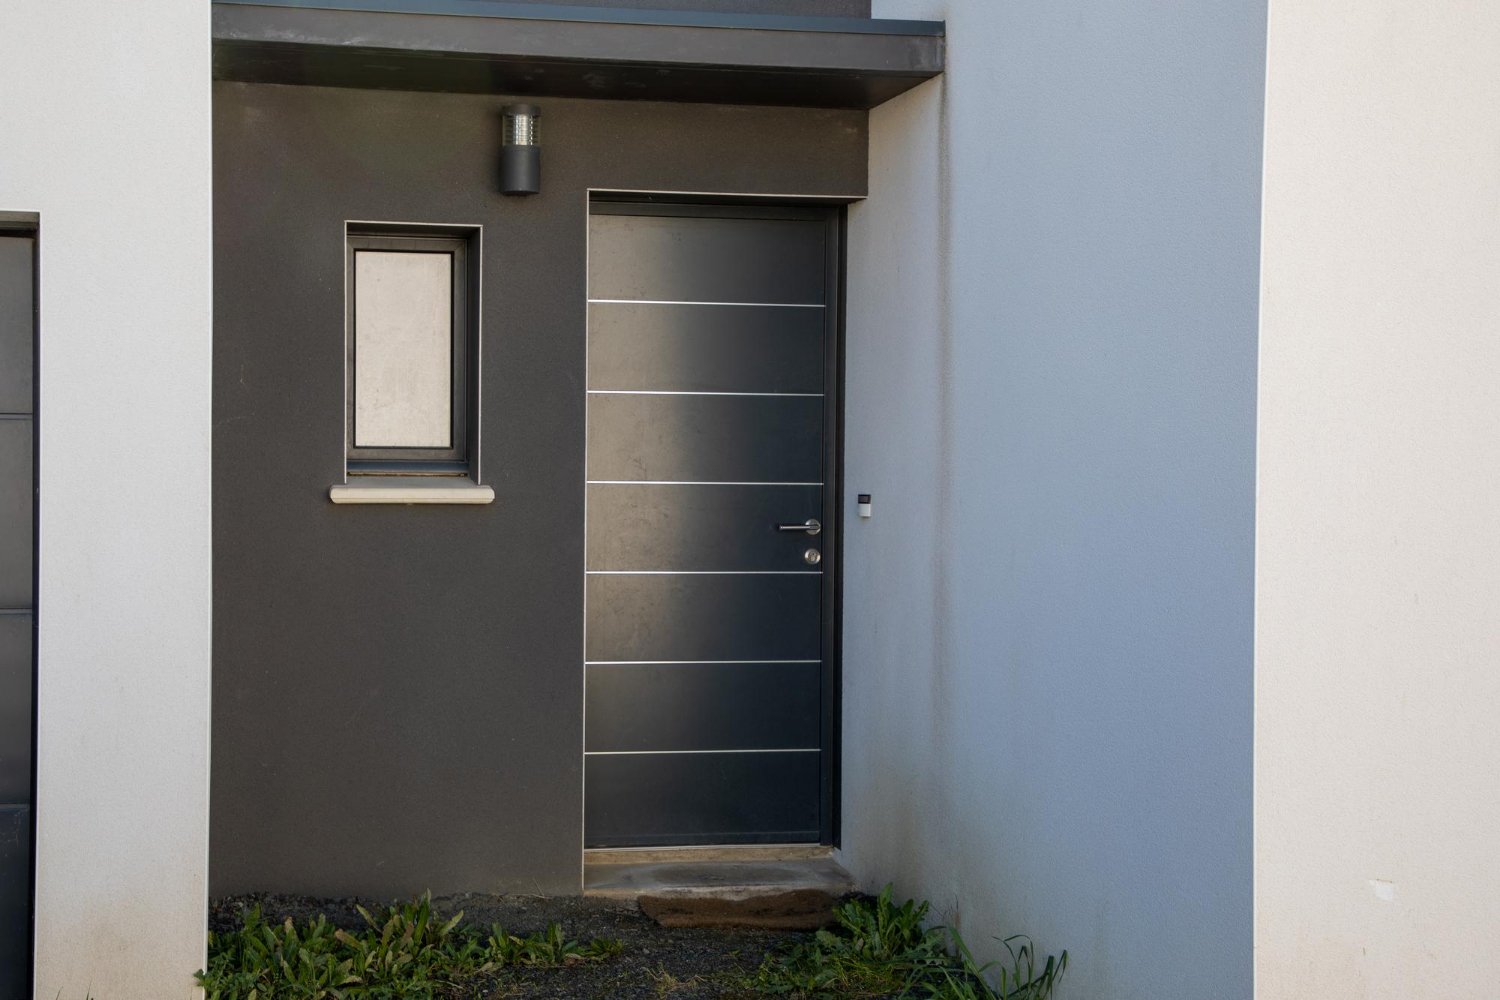
When to install exterior doors in a new home, and when to install interior doors?
When to install exterior doors in a new home, and when to install interior doors? The construction of…Read more